
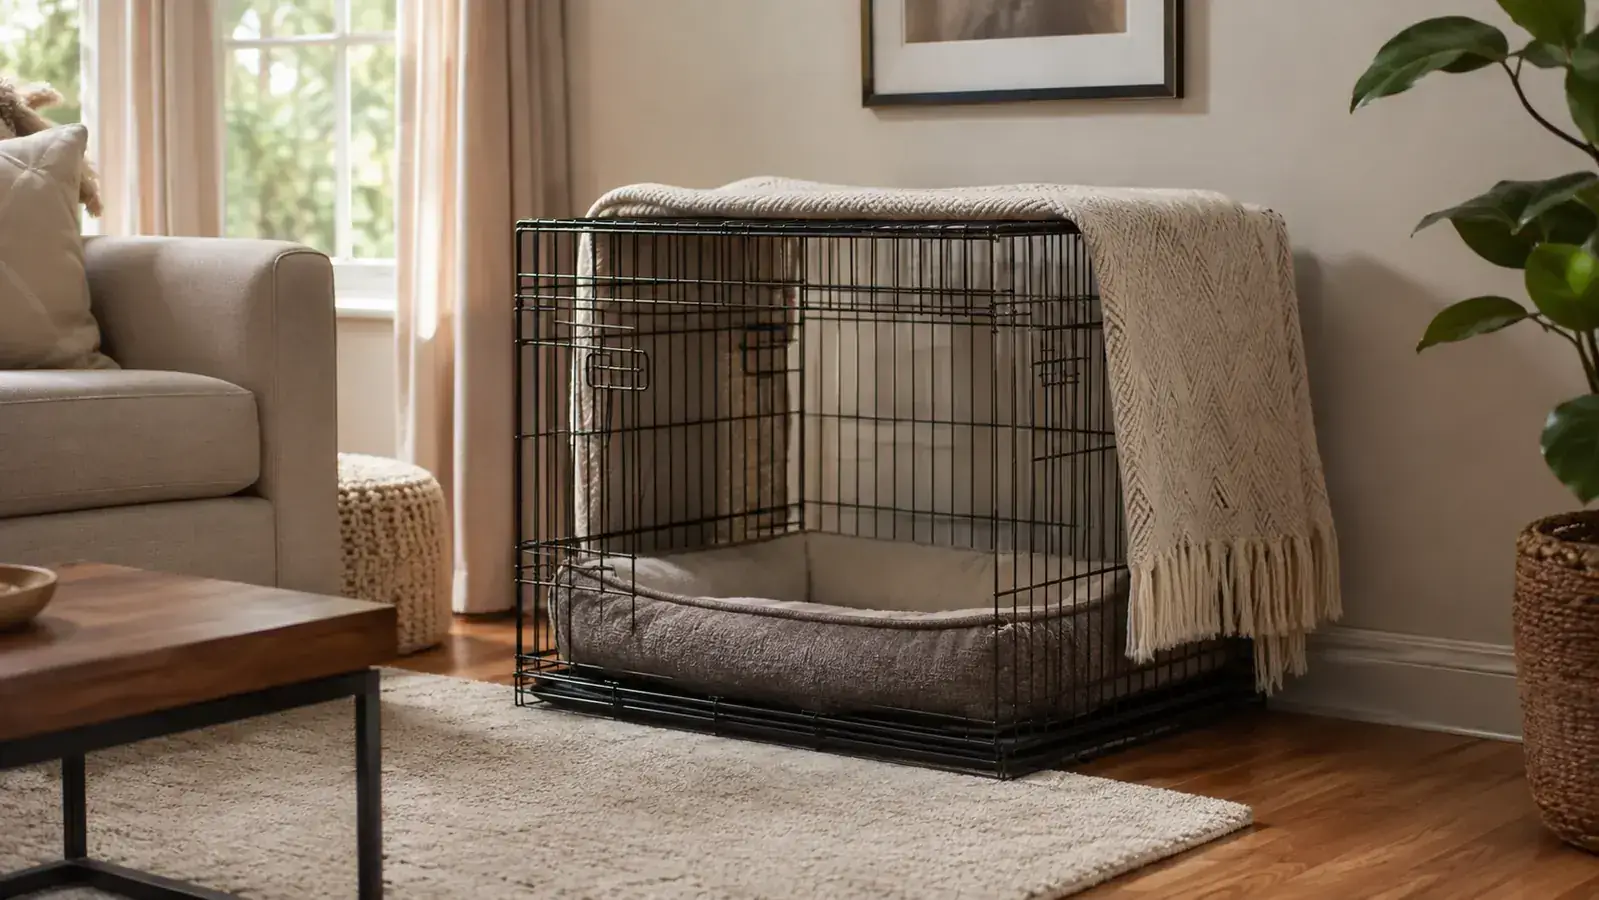
The first dog I crate trained, I did it wrong. I put him in, shut the door, and let him cry it out. He learned the crate was where he got locked up. Took me weeks to undo that, and it never fully took. With the four dogs since, I use a slower, friendlier method, and every one of them ends up treating the crate as their own room. This is that method, step by step, with a wire crate like the Midwest 30-inch iCrate we keep in our living room.
The goal is simple: the crate has to feel like a safe, boring, comfortable den, not a jail cell. You get there by never using the crate as punishment, by feeding the dog inside it, and by building up the time in tiny steps. It takes most dogs a week to settle in fully. Some take two. That is fine. You are building a habit the dog can keep for life.
Start with a wire crate big enough to stand up and turn around in
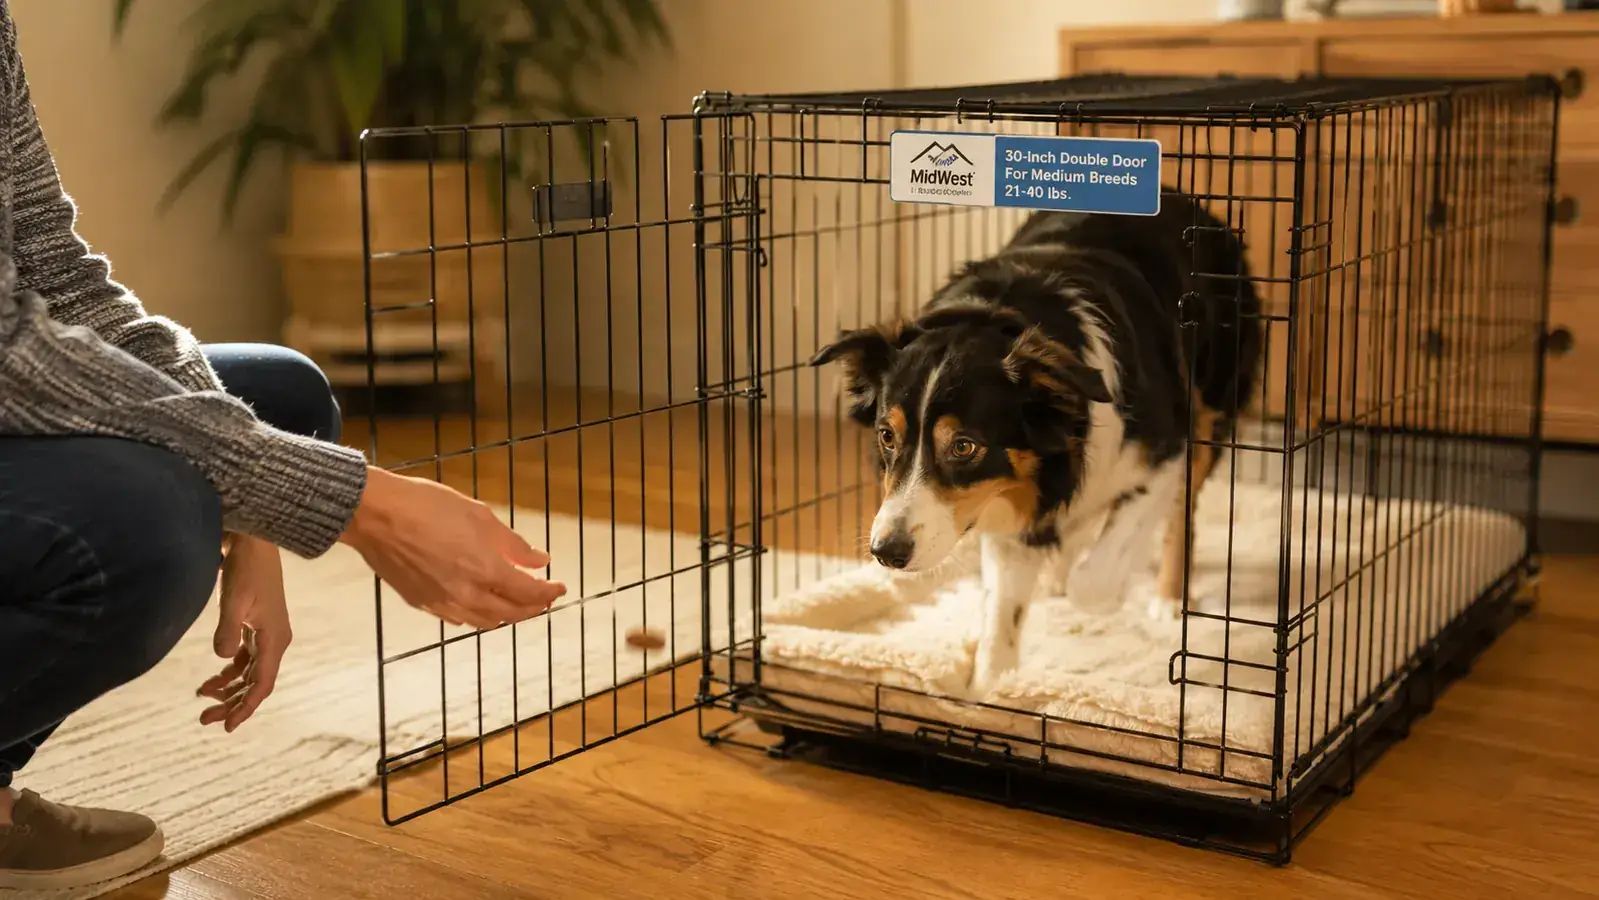
For a medium dog around 21 to 40 pounds, a 30 inch crate like the Midwest iCrate gives them room to stand, turn, and stretch without so much space they use one corner as a bathroom. Pans pull out for cleaning, and it folds flat when you need it out of the way.
Amazon Check Today's Price on Amazon →Step 1: Get the size right and set it up as a bedroom, not a cage
Measure your dog, not your hopes. A dog should be able to stand up without hitting their head, turn around in a full circle, and lie down flat without their legs pressed against the wire. For a medium dog in the 21 to 40 pound range, that usually lands on a 30 inch crate. Too big and a young dog will treat one end as a bathroom, which makes the whole plan harder.
Set the crate up somewhere the family actually is, like the living room, not the cold laundry room. Put a washable pad or a folded blanket inside, leave the door open, and do not force anything. The dog should see it as furniture that appeared in the house. I put a towel over the top of ours at first, which makes a dark cave inside, and Ruby started napping in there on her own by day two.
One tip that saves you hours of cleanup: buy a spare pan or line the bottom with a waterproof cover under the pad, because there will be accidents in the first days. The iCrate pan wipes down fast, and that is a real reason I reach for a wire crate over a fabric one. Fabric traps the smell. Wire airs out and hoses off.
If you have a puppy, buy a crate sized for the adult dog and block off the back with a solid divider while they are small. Puppies will not hold their bladder in a crate that is too roomy. Shrink the space to just their bed at night, then move the divider back as they grow. Keep the divider solid, not wire, so a panicked paw does not get caught. Our 36 inch crate came with the divider, and it saved us a lot of late night wash loads.
Step 2: Feed every meal inside the crate for the first week
Food is the fastest way to build a good association. For the first week, I do not feed any dog from a bowl on the floor. I put the bowl at the back of the crate so they have to step in to eat. The door stays wide open. They can walk in, eat, and walk right back out. No closing, no trapping.
If your dog is nervous about stepping in, move the bowl to the doorway for a day or two, then nudge it a few inches deeper each meal. The point is to let them make the choice. When they walk all the way in without hesitation, that is your signal they are starting to trust the space.
I also drop a high value treat inside a few times a day, just tossed in while I walk by. Ruby learned to check the crate for surprises. That little routine, thirty seconds a day, did more for her than any formal session. Keep the treats small and keep the door open the whole time, so none of this ever feels like a setup.
Step 3: Close the door, then build up the time slowly
Once your dog will walk in and out freely and eats comfortably inside, start closing the door. The first few times, close it only while they are distracted by the meal or a stuffed toy, then open it right after they finish. Then close it for a minute while you sit right there. Then two minutes. Then five.
The rule I stick to: never let the dog out while they are whining or scratching. You want them to learn that quiet, calm behavior is what gets the door open. If they fuss, ignore it, wait for even a one second pause, then open. That one second tells them calm works. If the fussing is constant and frantic, you pushed too long, so shorten the next session.
Give them something to do in there, a stuffed KONG or a safe chew, so being shut in is not just waiting. A busy dog is a calm dog. Over a few days I work up from minutes to maybe half an hour while I am home and moving around the house, with the crate where I can see it. I keep every session positive and short enough that it ends on a good note, never on a meltdown.
Step 4: Work toward overnight, and use the crate for real life
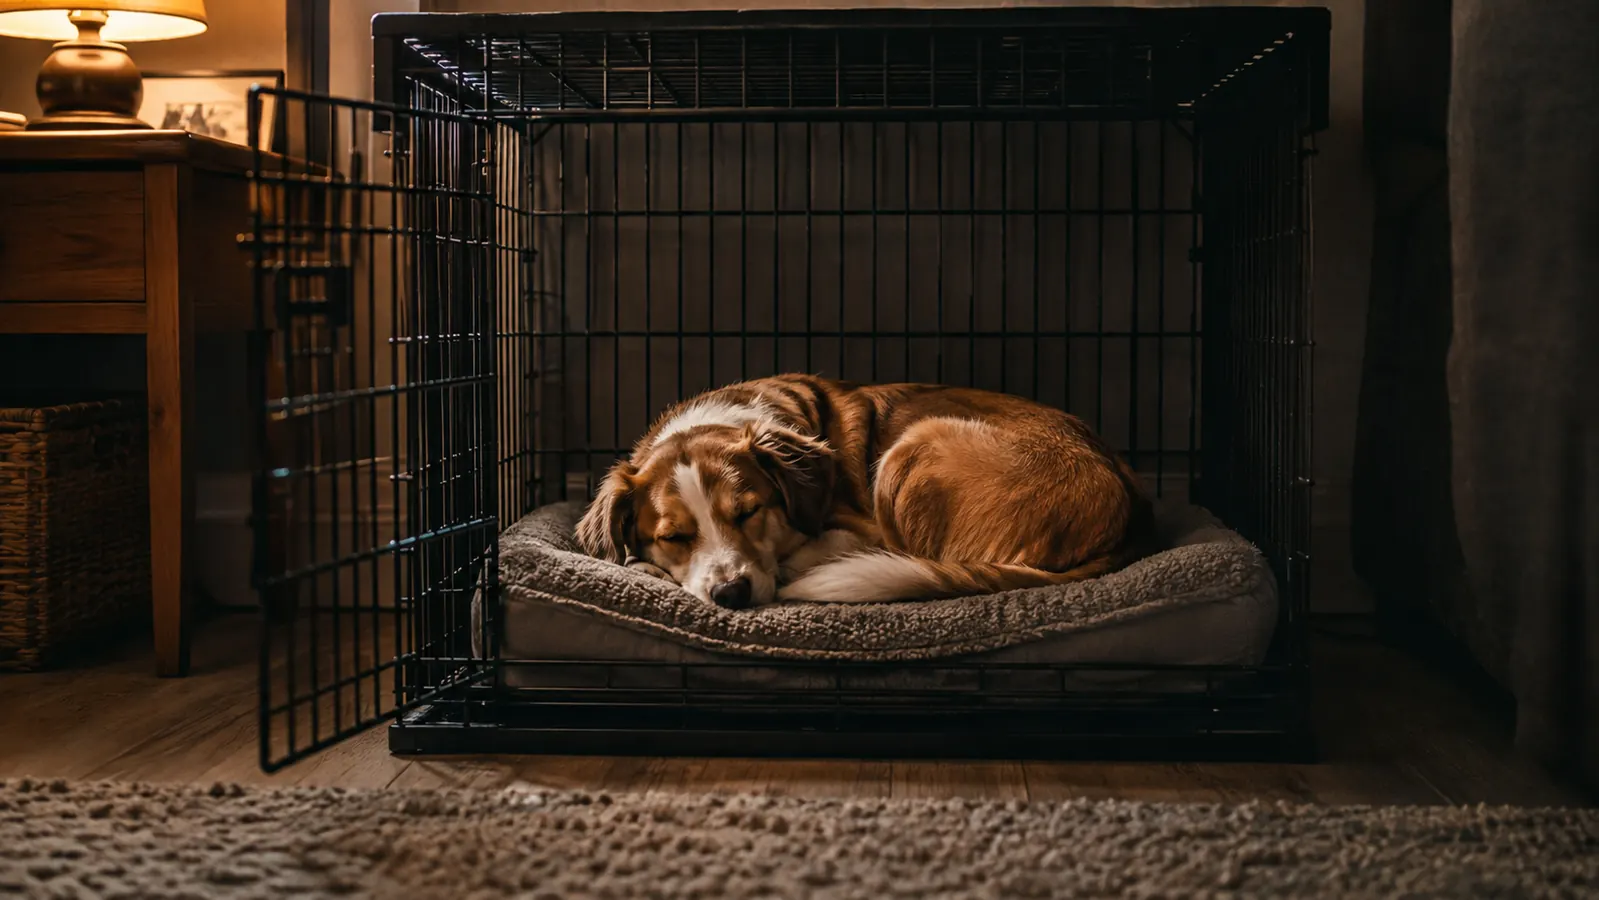
Overnight is the longest stretch, so do it last. Start by closing the crate while you sit in the same room watching TV, then move your chair a little farther each night until you are not in the room. Do not respond to fussing after lights out. Most dogs settle in under a week if you have done Steps 1 through 3 properly.
Set a consistent routine. Ruby gets a last potty break, ten quiet minutes, then a treat in the crate and the door closes at the same time every night. Dogs learn the pattern fast, and the pattern does the convincing that no amount of coaxing will.
Dogs are den animals by instinct, which is why this works at all. In the wild, a dog would rather rest in a snug, enclosed, protected spot than out in the open. A wire crate with a blanket over the top plays straight into that instinct, so you are not fighting the animal, you are working with the animal. That is why the method above feels easy by week two. The crate is not a trick you are pulling on the dog. It is a room you built the way the dog already wants to live.
Daytime is where the crate earns its keep. When I need to run out for groceries or an errand, my dog goes in the crate instead of getting the run of the house. That one habit stopped the shredded shoes and the chewed couch leg that used to greet us every time we came home. A wire crate collapses flat and fits in the car, so it travels, and it keeps a dog safe and calm in a hotel room or a friend's house instead of pacing and getting into trouble. In the car I secure it with a strap so it does not slide, and I never leave a dog in a closed crate in a hot vehicle.
One more thing worth doing in the first week: ask everyone in the house to use the same words. If one person says go to bed and another says crate and a third just points, the dog has three signals to learn instead of one. Pick one word, say it the same way every time, and offer the same treat when they settle. Consistency across all of us is half the reason Ruby took to it as fast as she did.
Step 5: Keep the crate a safe place forever
The moment a crate stops being a safe place is the moment you use it as punishment. Never send a dog to the crate in anger. Never shout and push them in. If you need a timeout, a few quiet minutes in a shut crate is fine, but keep your voice calm and make it boring, not scary.
Also never punish a dog after the fact for something they already did. They will not connect the scolding to the chewed shoe; they will only associate the crate with you being upset. The whole method depends on the crate staying neutral and good.
Leave the door open during the day so the crate stays a den they can use on their own. Every dog I have owned has eventually wandered in of their own accord to nap, which is the real sign it worked. The crate went from something I made them do to something they wanted. If you smell the beginning of trouble, a worried dog, a stressed dog, step back to the earlier steps rather than pushing through. There is no shame in taking the slow road.
What Else Helps
A wire crate works best when you pair it with a few basics. A washable pad or bed inside, a blanket over the top for a dark cozy cave, and a stuffed chew for the times you shut the door. Keep the crate in a spot with family traffic, not hidden away, so your dog learns it is part of the household.
Two things I skip: automatic shock or spray collars, and leaving a dog in a crate for the whole workday without a mid-day break. A crate is a rest and safety tool, not a parking space. If you are gone eight hours, that is too long for most adult dogs, and a puppy cannot hold it anywhere near that. Arrange a dog walker or a friend for the long stretches.
And do not forget the pan. Wire crates are easy to keep clean, but you have to actually pull the tray and wipe it. A spare liner sized for the crate makes a wet accident a two minute fix instead of a twenty minute scrubbing job. In the car, a waterproof pad under the bed catches the mess from a queasy traveler before it soaks the upholstery.
The biggest mistake I see in training groups is skipping the slow build and locking a brand new dog in a crate overnight on the very first day. It almost always backfires. The dog fights, the owner gives up, and the crate goes into the garage. Follow the order here and you sidestep that whole regret. Patience costs nothing, and it is the only thing this method actually asks of you.
The moment that told me it had worked was not when Ruby walked in on the first night. It was a month later, when I found her asleep in there with the door wide open, on her own, because the crate had become her room.
Give your dog a room of their own, the patient way
You do not need a gimmick to crate train a dog. You need the right size crate, a calm routine, and time. A 30 inch wire crate like the Midwest iCrate has done the job for us through four dogs, and it is built to fold flat when you need the floor space back.
Amazon Check Today's Price on Amazon →